How to create a ceritifcate using Lets Encrypt, Powershell and Azure
Pre-Requierements
- Powershell
- Powershell module ´Posh-ACME´
- DNS provider Domain
- Azure DevOps account
- Azure Key Vault
Add Posh-acme module to powershell
- Install-Module -Name Posh-ACME -Scope AllUsers
- Import-Module Posh-ACME
Generate verification TXT record for DNS
- Generate TXT using following command in powershell:
New-PACertificate '*.yourdomain.com' -AcceptTOS -Contact your emaik@address.com -Friendlyname "*.yourdomain.com" -PfxPass "SomePassWord" -DNSSleep 120
 TXT example
- Then in your DNS service provider create a txt endpoint with
_achme-challenge.yourdomain.comand the value from. - After the value is created in the service provider press continue in your Powershell window.
- Once that tool finishes go to C:\Users\YourUser\AppData\Local\Posh-ACME\ and follow the folder structure to get the certificate cert.pfx
Upload certificate to Azure
- Go to your Azure portal
- If you don’t have Key Vault then you need to create one.
- To do that create new resource and search for Key vault and follow instructions.
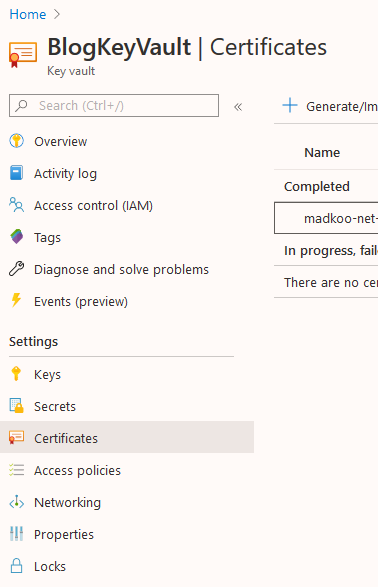
- Go to your Key Vault
 Key valut
- Click on Generate/Import and choose import i. If you there is a certificate existing then click on that and Import a new version using the password, that you used when creating the certificate through the CLI was generated
- Select the .pfx file from the file path and follow the import instructions.
- Once the import is finished your should see a new or updated certificate in the certificate list.
- Now you can use this certificate in your App Serices for example, for that go to your site resource in Azure
Open TLS/SSL settings in you App Service
- Click on Private Key Certificates (.-pfx) tab
- Import your certificate from Key Vault - follow the insturctions.
- After Import is finished go back to Bindings tab
- Click on Add TLS/SSL Binding
- Choose the imported certificate and follow the instrcutions
- After that your all setup and your site should have a valid certificate now.
